The SAAF Forum

Discussion on the SAAF and other southern African air forces.
It is currently 15 Aug 2026, 23:26

All times are UTC + 2 hours


Post new topic Reply to topic  [ 4 posts ] 
Author Message
PostPosted: 16 Sep 2025, 22:45 
User avatar

Joined: 22 May 2018, 17:45
Posts: 147
Location: Czech Republic
While waiting for 3D prints for my Sherman V diorama, I decided to crack open a new box, this time something different from Sherman tanks.

I know only one photo of this vehicle in South African service that is shown in progress publication. It has AoS of white 74 on red on blue belonging to 1/6 Field regiment, 6th South African Armoured Division, camouflaged in light mud/blue black. Photo shows this vehicle partially bogged down on side of gravel road so that’s my plan for future vignette.
No other info is provided, only a list of known WD numbers so I just chosen one of these. I also prepared Artillery tactical sign for side of the turret but I’m not sure if I’ll use them as these were just guestimated. It will be basically out of the box build with custom made decals and additional small items from 3D prints like cable reels for field phone as these vehicles served as Artillery OP/command vehicles before enough Sherman V were available.
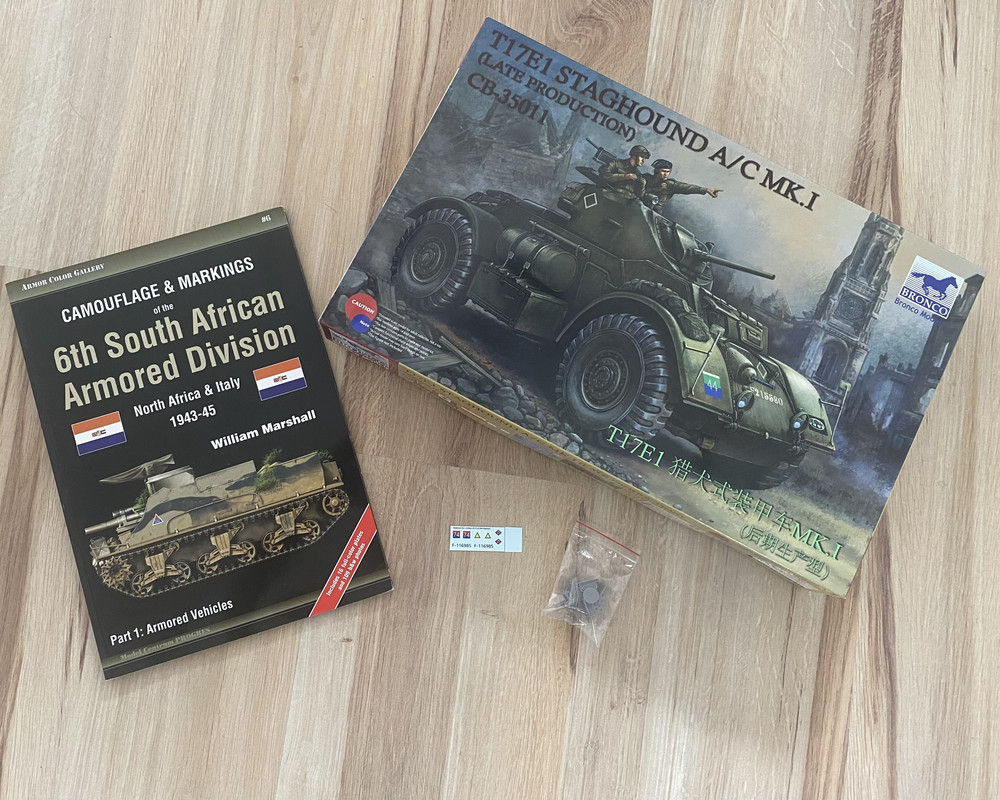
Image

It’s a kit with worst manual I ever saw, way worse than Dragon ones.
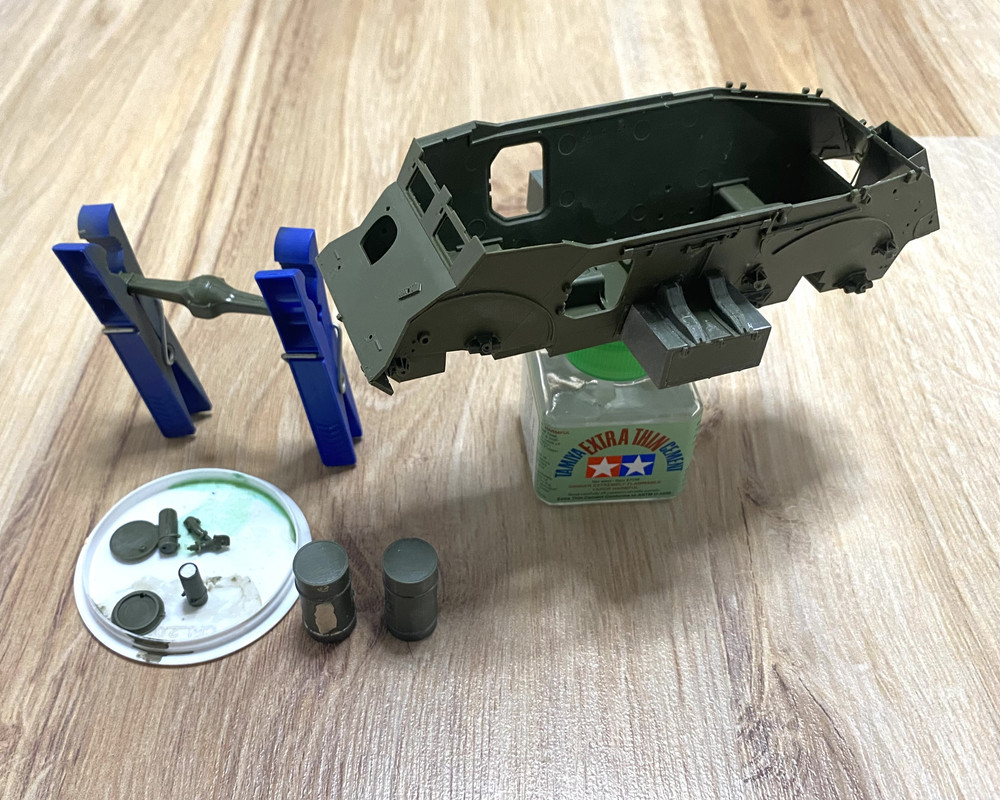
So let’s show some progress from last two days. On Sunday, I glued together lower hull and stowage boxes which required a bit of putty.
Today I started adding small pieces, sanded stowage boxes and so on. Exhaust are multipart assemblies with nasty seem like on top with no possibility to sand it smooth do I opted for two thin metal discs to hide it.
i slowly started on axels to figure out if I’ll be able to modify them in diagonal plane and also turn the wheels to the side.
Image


Top
 Profile  
Reply with quote  
PostPosted: 28 Oct 2025, 23:09 
User avatar

Joined: 22 May 2018, 17:45
Posts: 147
Location: Czech Republic
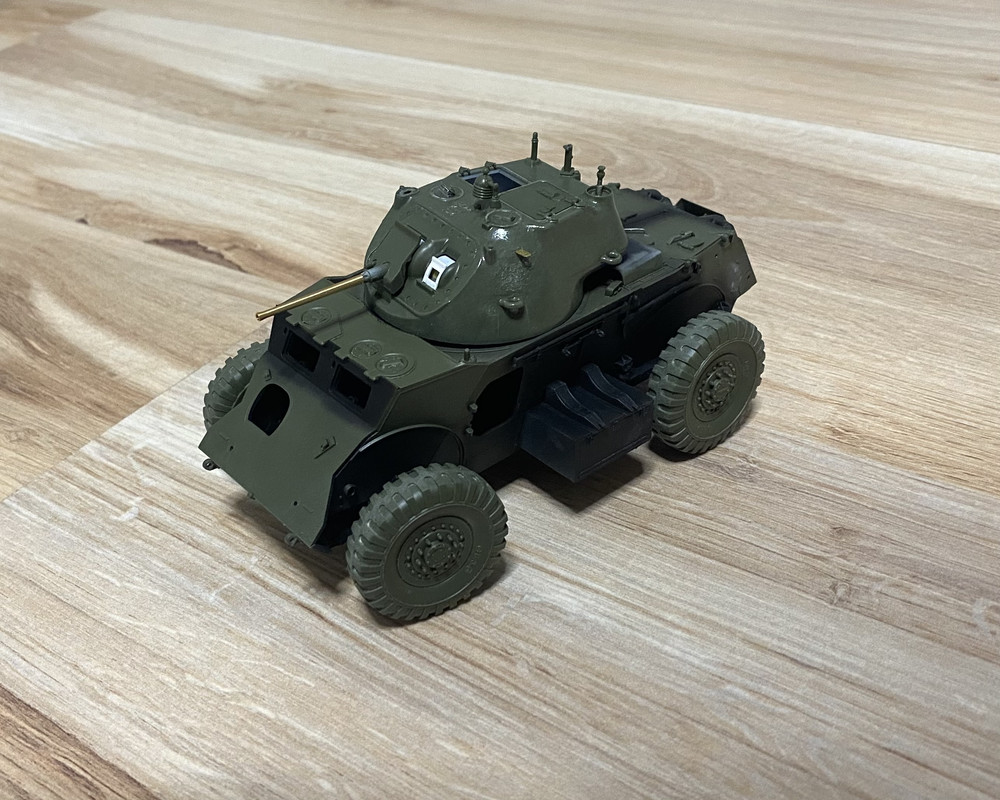
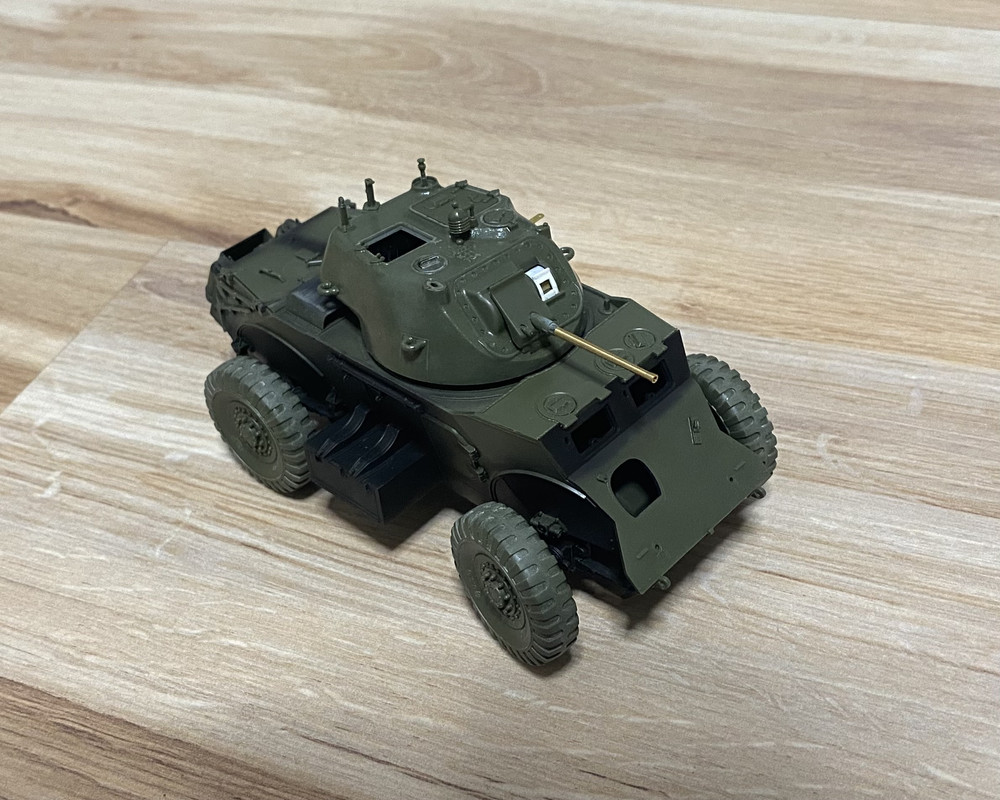
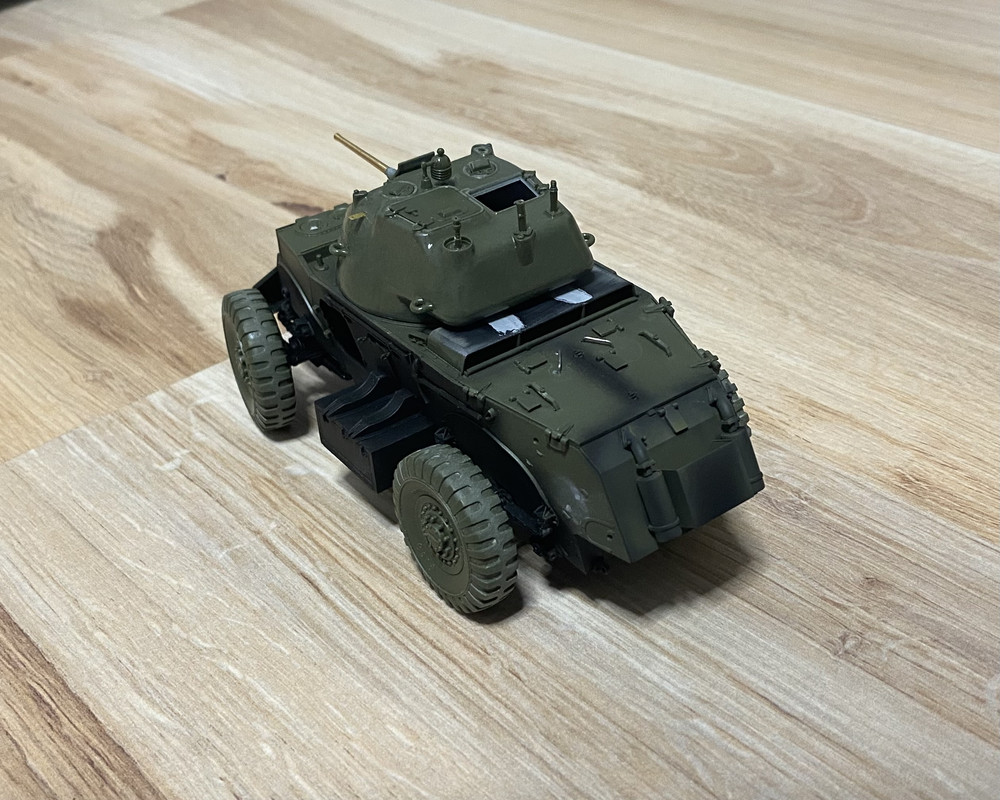
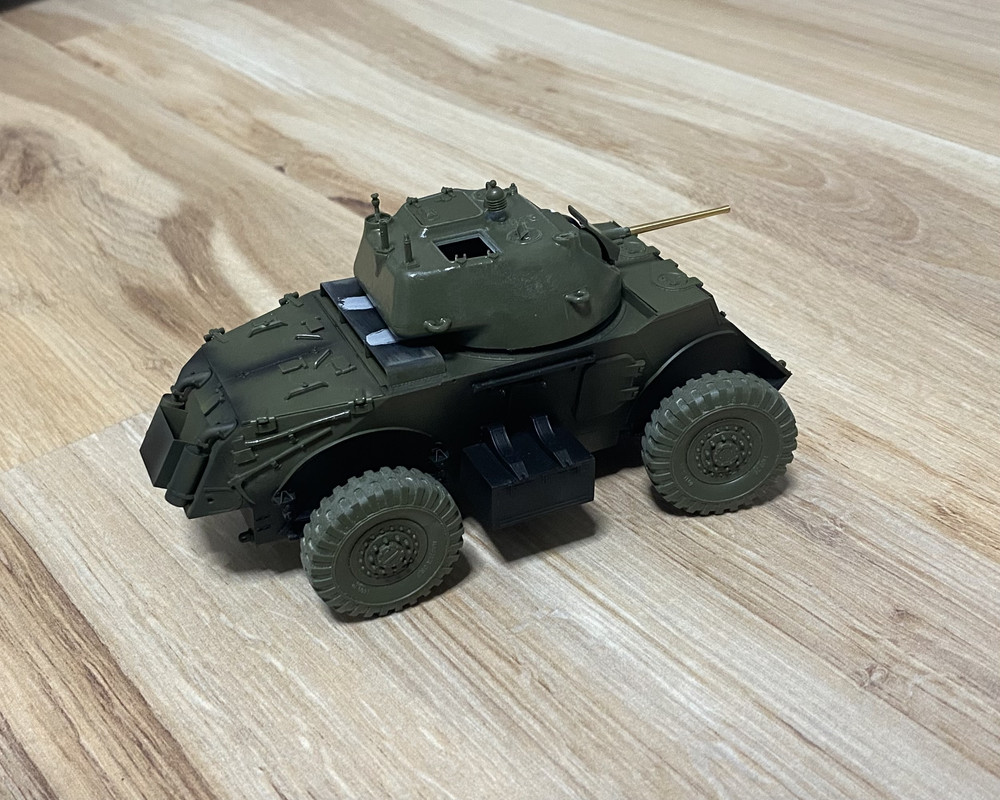
As I am wainting for some parts on my Sherman V build, I pulled this one out of a box and worked throughout the last week.

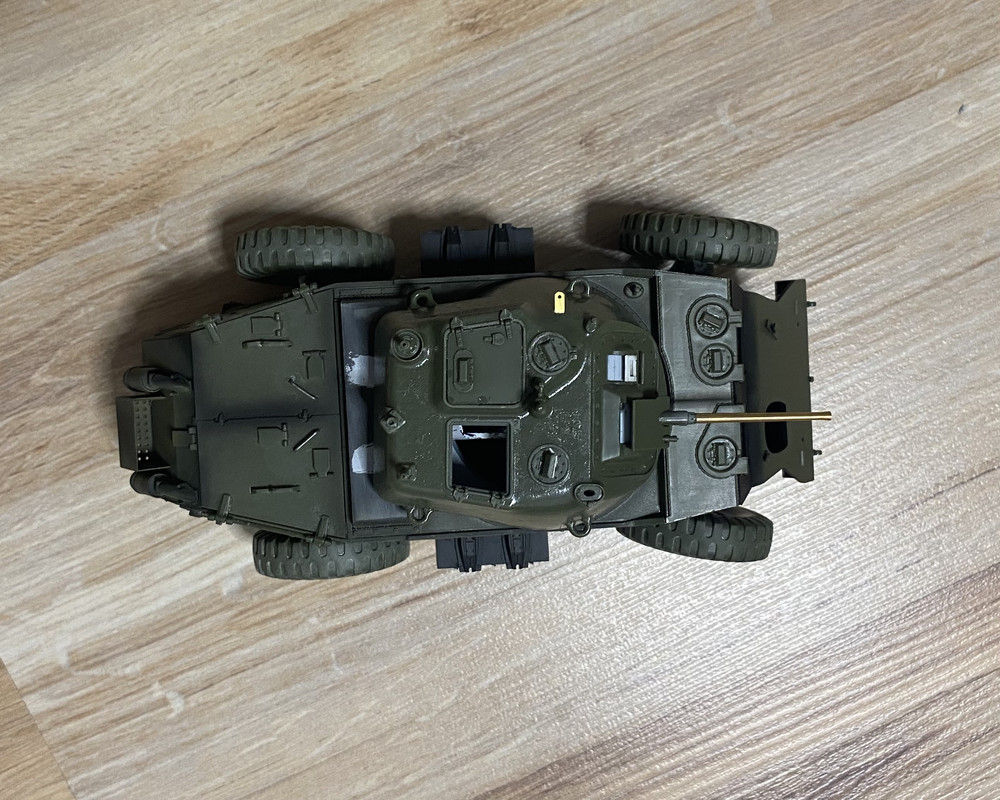
Empty interior of lower hull was sprayed with black. Front visor hatches will be opened and left side doors just slighty opened so there's not going to be visible too much. Interior of turret is rather sparse and consist only of Wireless set and breach parts. I completed these, sprayed interior white and made some chipping and wash. I decided that only a gunner hatch is going to opened so again, not so much is going to be visible. Light cast texture was made on the turret using extra thin cement and stiff brush. Turret overall is almost done.

I also played a bit with undercarriage to fit my little diorama based on photo. Staghound is going to be ditched on left side of road, sinked into soft ground with both left side wheels with right side wheels still on road. Bronco provided us with all leaf springs weighted into horizontal level. I kept these for left side of vehicle as these are going to bearing a bigger mass of vehicle. Right side leaf springs were modified to get a nice arc into them. Front wheels itself were rotated to the right side as driver was trying to pull the vehicle out of the ditch at last moment. Light grey patches on air intake cover are putty that is not sanded yet. Wheels are attached by tack it so these might seem a bit wobbly.

There's still some parts missing throuhout the lower hull as I am slowly adding them, spraying locations which would be hard to reach after attachment of new parts and so on. That's why there's some patches of surfacer black or olive drab.

Image
Image
Image
Image
Image


Top
 Profile  
Reply with quote  
PostPosted: 31 Jul 2026, 22:20 
User avatar

Joined: 22 May 2018, 17:45
Posts: 147
Location: Czech Republic
I totally forget to post some updates here.
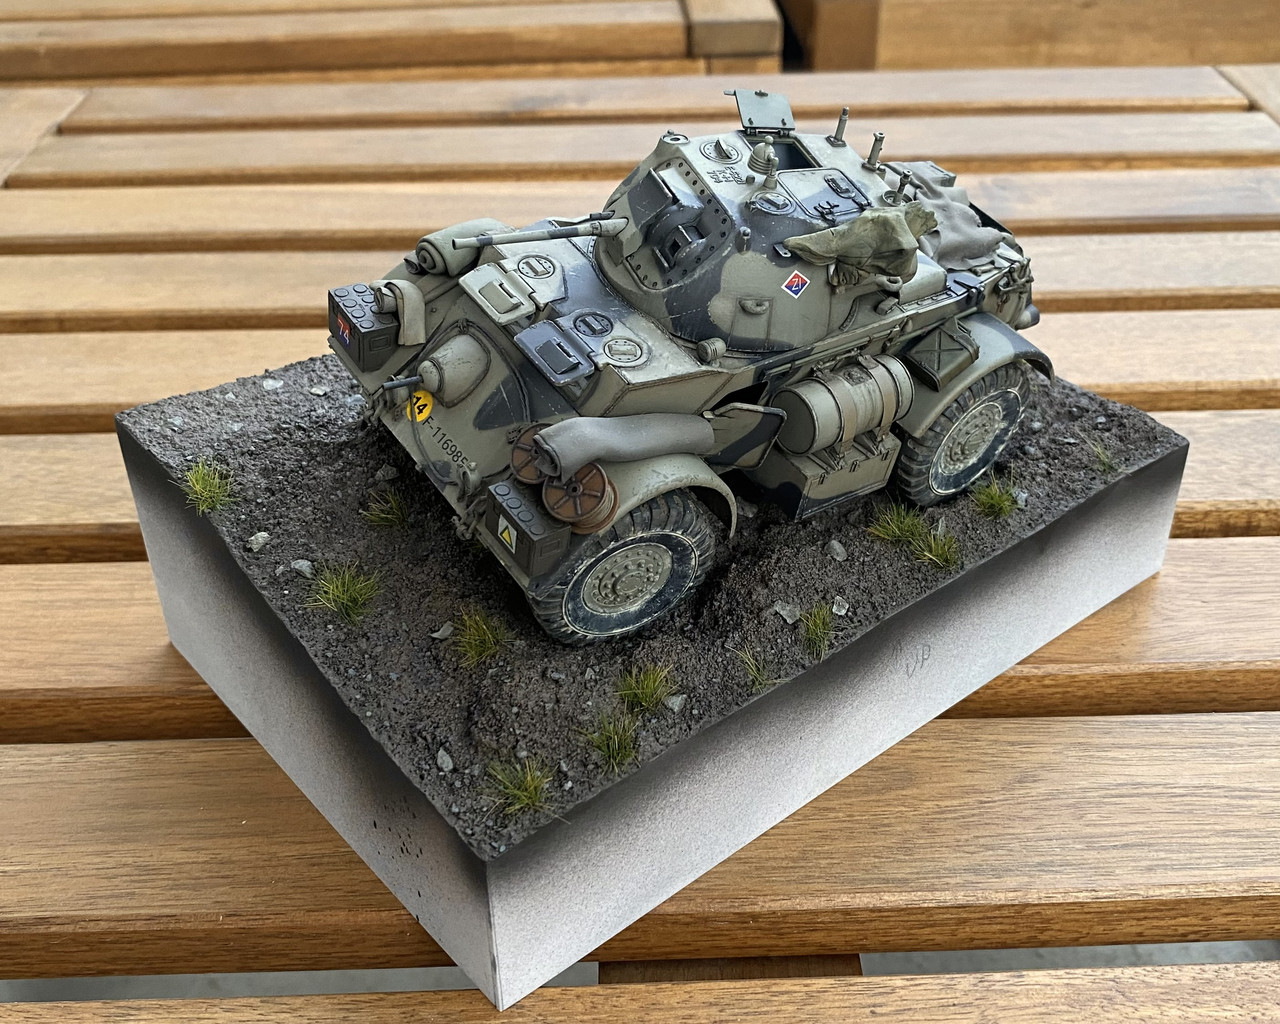
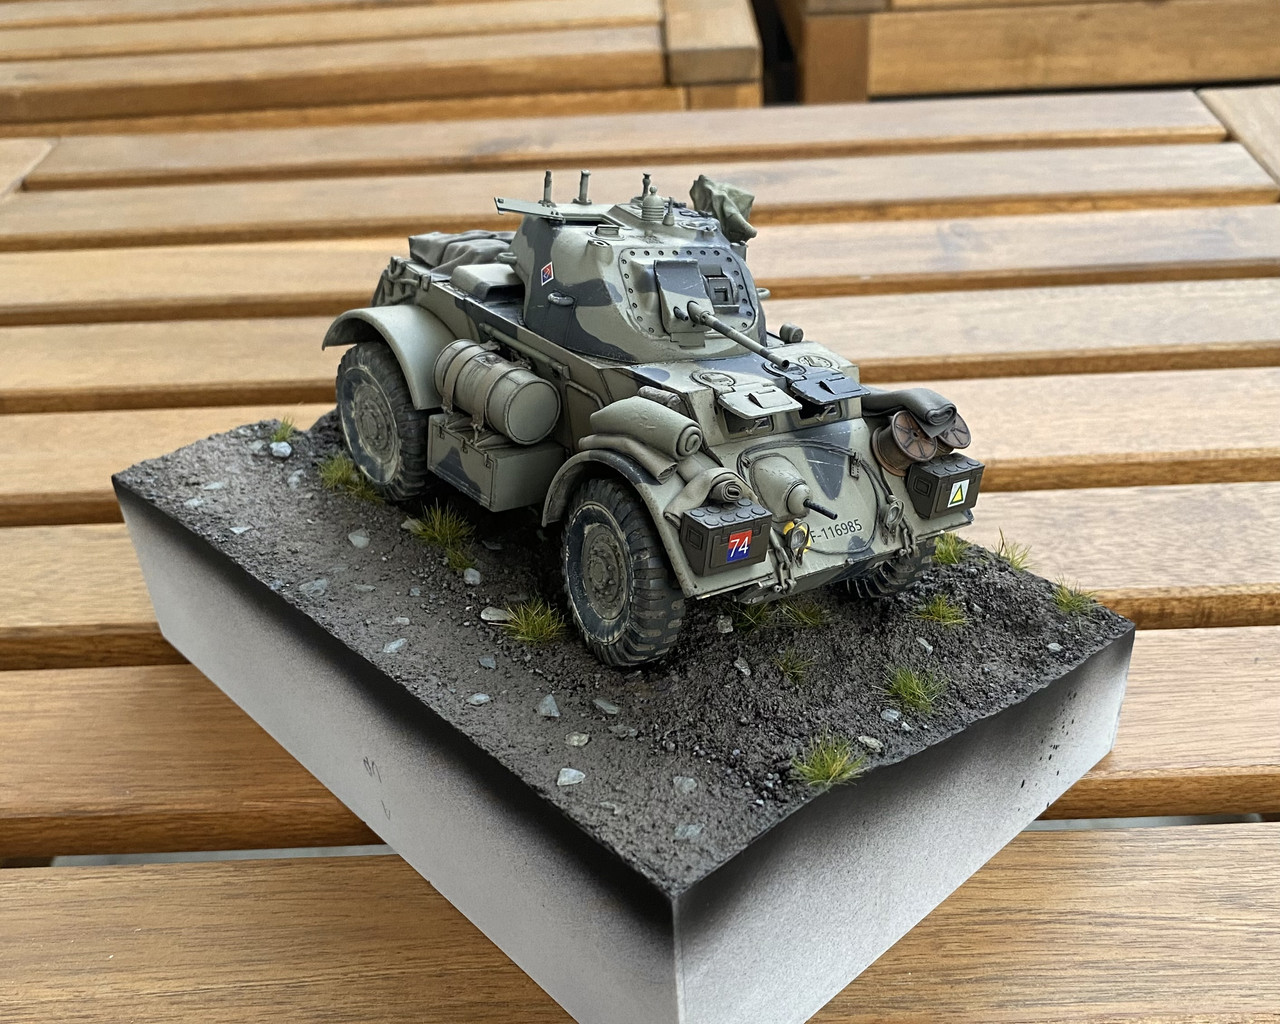
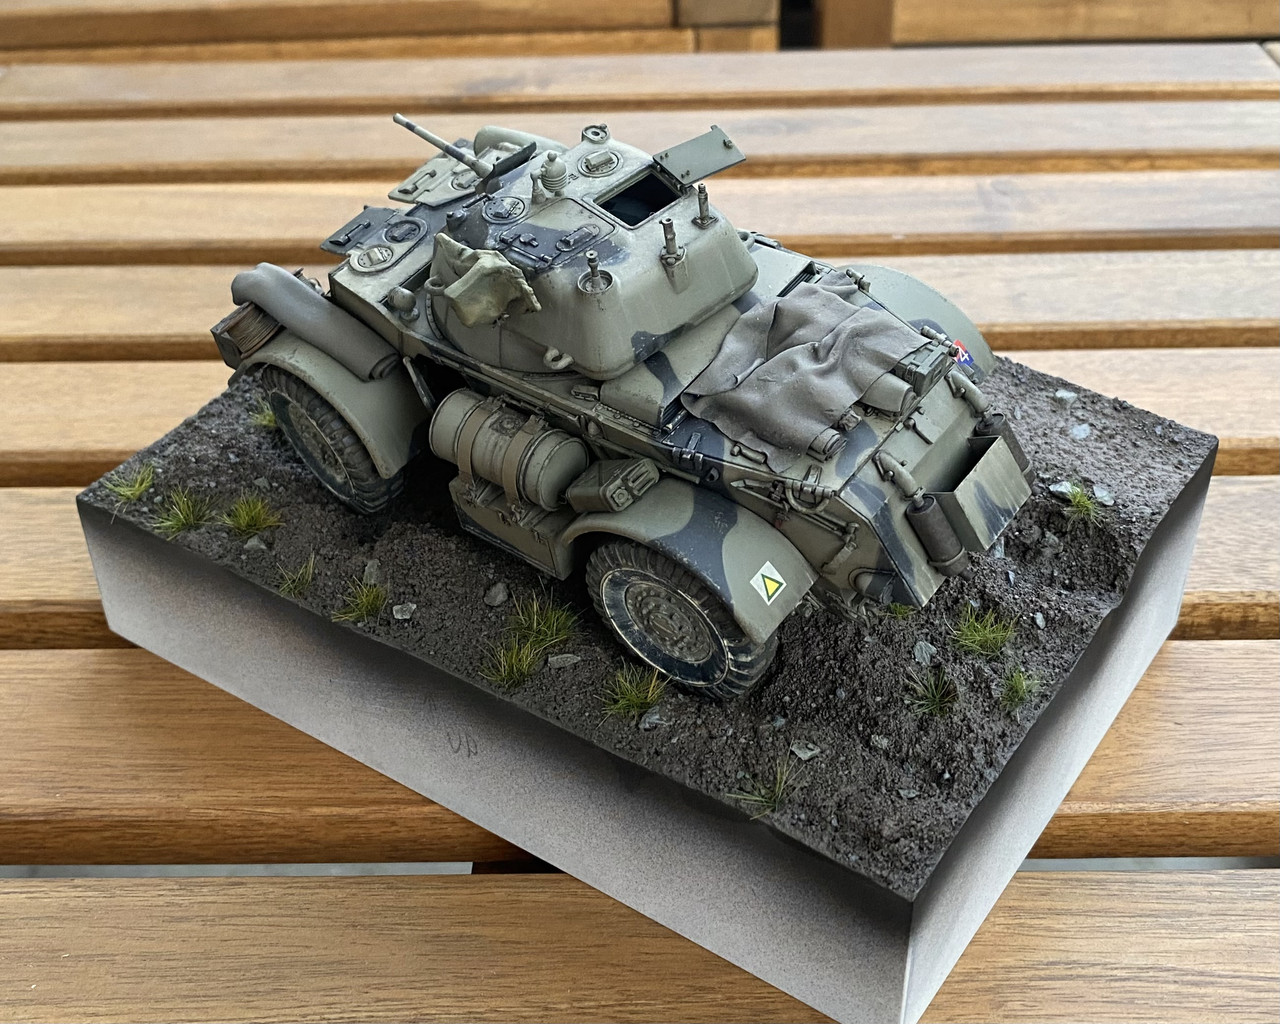
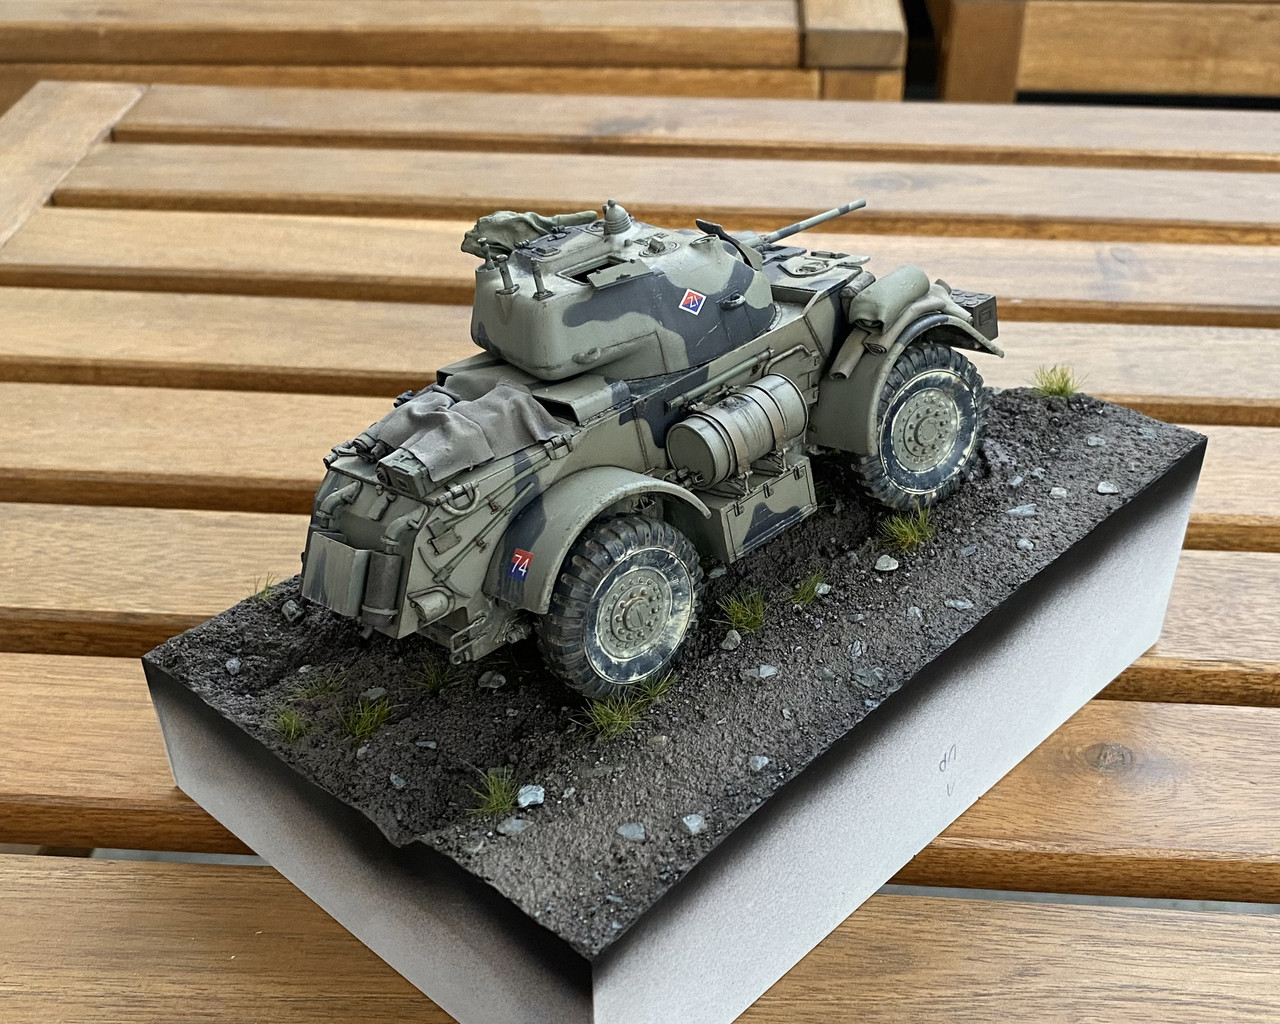
Long story short, Staghound was painted with AK Real Colors Light ,ud and Blue black. Some shading was made using oil paints, chipping with acrylic paints applied with brush and sponge method. Custom decals designed by me. Everything was sealed with Gunze GX satin varnish so filters and wash could be applied. Stowage is mix of 3D prints and two part epoxy putty.
Base was started and as always I used plastic boards for frame and filled with styrofoam. Basic terrain shape was acchieved with drywall putty and later covered with coffe grind and AK terrain paste. Some stones were used to represent rocky terrain. It was basecoated with Surfacer 1500 and airbrushed with mix of Tamiya muddy shades. Stones and pebbles were painted out with mix of acrylic paints. Static grass was added here and there. Everything received wash of dark brown to improve on shades and tie everything together.

Current state is like this:
Image
Image
Image
Image

I'm still not sure if I should add more grass tuffs and if I should add .30 cal MG covered by tarp (based on original photo) or not?


Top
 Profile  
Reply with quote  
PostPosted: 01 Aug 2026, 10:57 
Site Admin
User avatar

Joined: 29 Jun 2004, 17:19
Posts: 8566
Impressive. =D>

I'd just add the tarp covered .30 cal MG.

_________________
How come every time my ship comes in, I'm at the airport?


Top
 Profile  
Reply with quote  
Display posts from previous:  Sort by  
Post new topic Reply to topic  [ 4 posts ] 

All times are UTC + 2 hours


You cannot post new topics in this forum
You cannot reply to topics in this forum
You cannot edit your posts in this forum
You cannot delete your posts in this forum

Search for:
Jump to:  
cron
Powered by phpBB® Forum Software © phpBB Group